Leaf-Litter Stacking: A Fungi Field Guide for Olympus Macro Shooters
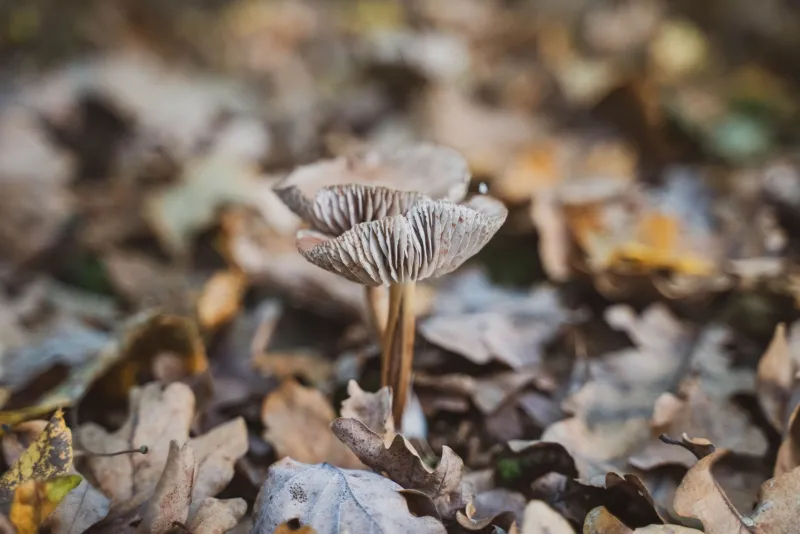
There is a particular kind of quiet in a British woodland when the first proper damp spell arrives. The leaf litter darkens, the moss plumps up, and suddenly every fallen branch seems to have a small architecture growing out of it. Fungi are the perfect macro subject and the perfect frustration: get the cap sharp and the gills go soft, get the gills crisp and the stem blurs into mulch.
Olympus focus bracketing is the calm answer to that problem. It lets you build depth in the camera, or in software later, without turning a woodland wander into a laboratory session. The aim is not technical perfection for its own sake. It is to make a photograph that feels like the forest floor: layered, damp, tactile and alive.
Start low, travel light
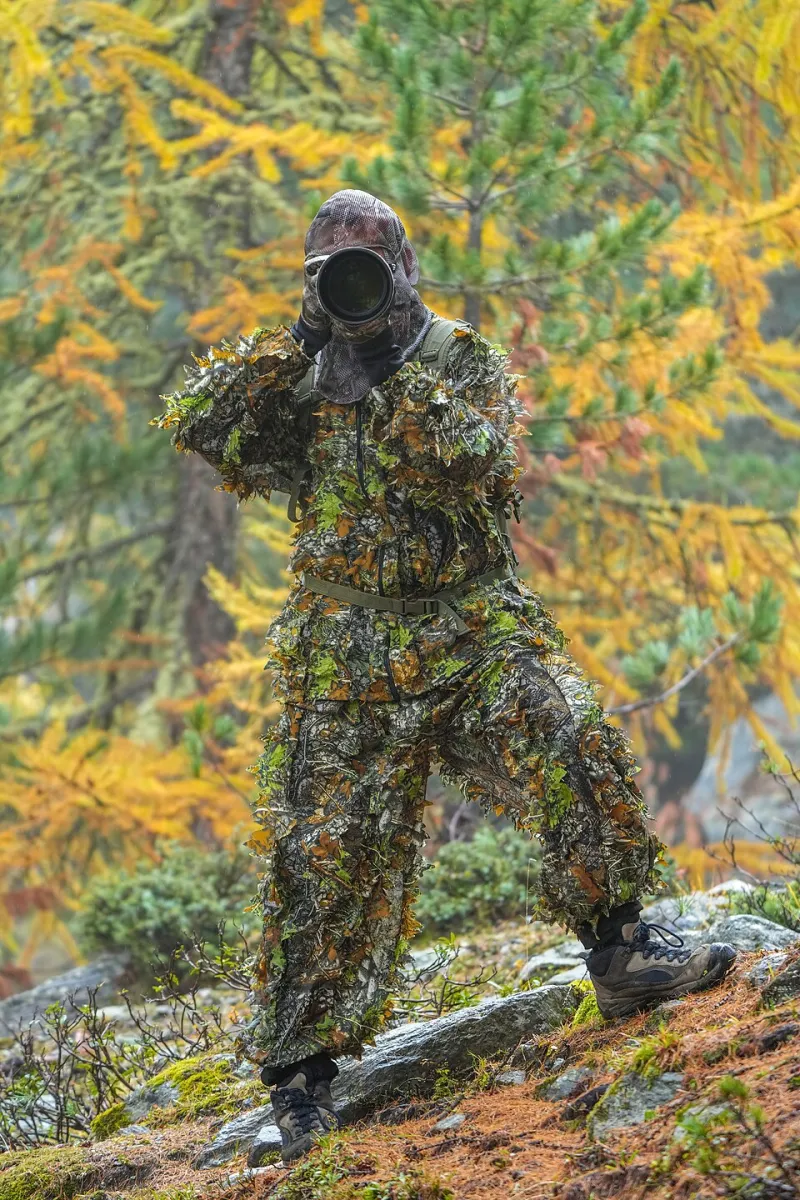
Fungi are rarely at eye level. The first decision is usually whether to kneel, sit or lie down. A small tripod that can splay its legs flat is more useful than a tall, stiff one. A beanbag works well on wet logs and uneven ground, and a cheap gardening kneeler saves your trousers and your patience.
Lens choice shapes the whole encounter. The M.Zuiko 30mm f/3.5 Macro is the pocketable option: light, close-focusing and good for clusters, habitat shots and awkward corners where a longer lens feels intrusive. Its short working distance means you need to think about shadowing, especially with a diffuser. The 60mm f/2.8 Macro gives more breathing room between lens and subject, which suits solitary mushrooms, nervous light and compositions where you want to compress the background into soft woodland colour.
Neither lens is the wrong answer. The 30mm encourages a more environmental frame; the 60mm encourages isolation. Take the one that matches your mood, not the one that sounds more serious on paper.
The settings that do the quiet work
For a typical mushroom portrait, start around f/4 to f/5.6 rather than f/16. Diffraction steals fine detail on Micro Four Thirds, and focus bracketing is there to solve depth without stopping down into mush. Set ISO low, use the electronic shutter or anti-shock mode, and add a short delay so your touch does not vibrate the tripod.
If your Olympus body has in-camera Focus Stacking, begin with a small stack. Eight to twelve frames at a moderate step size will often cover a single fruiting body. For a clump, or a subject with deep gills and a tall stem, increase the frame count and check the near and far limits carefully. Focus on the nearest point you want sharp, let the camera walk backwards through the scene, and review the composite on the rear screen at magnification.
Focus Bracketing, rather than in-camera stacking, is the more flexible option when you want to blend manually. It gives you a sequence to work with and a second chance if one frame is soft. Whichever route you choose, keep the step size modest. Too large a step and you get soft bands; too small and you fill the card with near-identical frames.
Light matters as much as the stack. Direct sun on a wet cap is a highlight-clipping machine. A simple white diffuser held above the subject, or a sheet of tracing paper taped to a light stand, turns harsh woodland light into something much kinder. Overcast days are a gift. A small reflector can lift the gills without making the scene look lit from below.
Composition in the leaf litter
Low angles are tempting, but low is not automatically good. Look for a subject with a clean line behind it: a dark hollow, a sweep of moss, a pale birch trunk far enough away to blur. Shoot across the cap rather than down onto it. Include a few leaves or a twig for scale, but avoid tidying the scene into something that looks like a studio set.
The best fungi photographs often show relationships: a cap pushing through beech leaves, a cluster sharing a log with moss and lichen, a solitary stem against a wash of autumn colour. Use negative space. Let the background go soft. If the litter is chaotic, change your angle rather than clearing it.
Early frost adds sparkle, but it also changes the subject quickly. Shoot the frosted frame first, then the softer portrait as the light warms. Cold fingers make small dials feel enormous, so set up your bracketing menu before you leave the house.
Woodland ethics come first
Fungi are fragile in ways that are not always obvious. A cap that looks sturdy can bruise under a fingertip, and disturbed leaf litter can alter the damp microclimate a fruiting body needs. Do not pick, kick or rearrange fungi for a photograph. Do not clear moss, twigs or leaves to make a cleaner frame. Kneel on a pad, keep your bag off the moss, and stay on paths where the site asks you to.
Many British woodlands, nature reserves and SSSIs have their own rules about access and disturbance. Check before you go. If you are photographing a rare species, think carefully about sharing precise locations. A good photograph should not make life easier for someone who wants to collect or trample the site.
A simple field routine
Scout first without the camera. Find two or three subjects rather than chasing every cap. Set up low, diffuse the light, choose a modest aperture and run a short stack. Review at magnification, adjust the step size, and shoot again only if the subject deserves it. Wipe condensation from the lens, keep spare batteries warm, and leave the woodland as you found it.
The result should feel less like a technical exercise and more like a quiet record of autumn doing its work. That is the real craft: sharp where it matters, soft where it should be, and careful with the place that made the picture possible.