Reed-Bed Vigil: A Winter Birding Field Guide for Olympus Telephotos
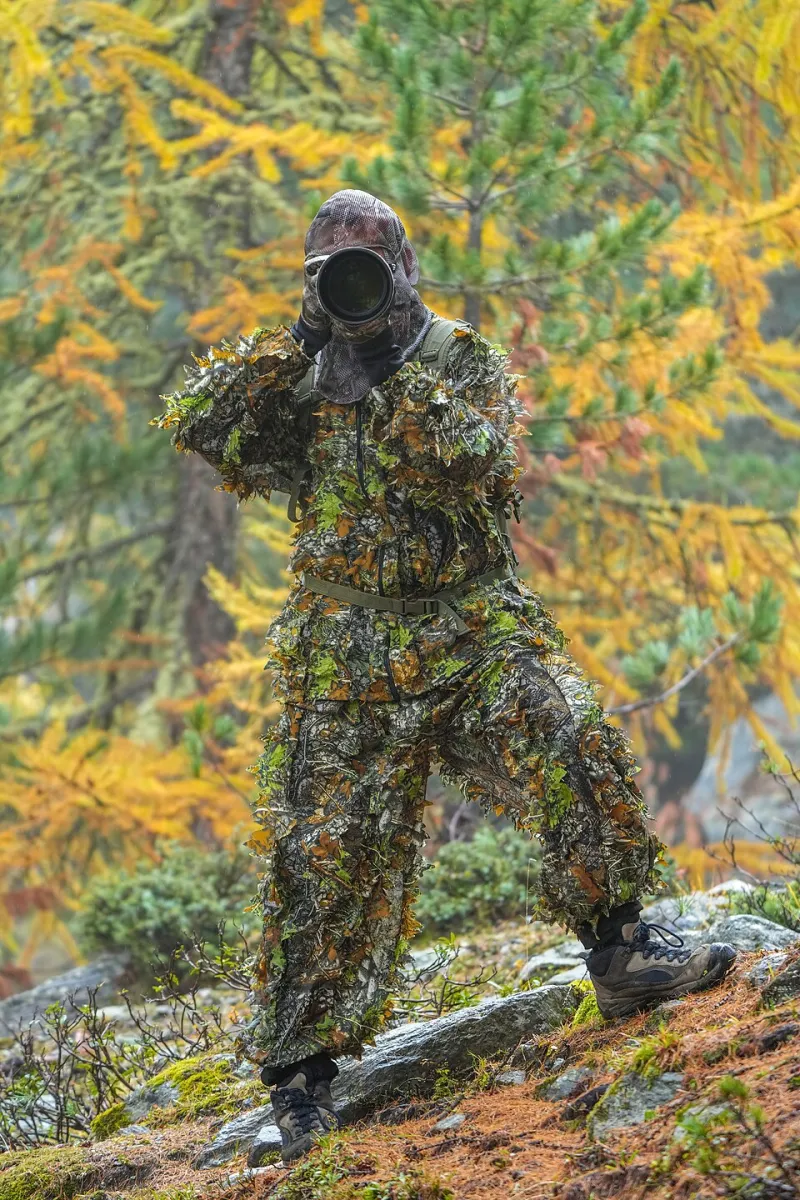
Photo: Giles Laurent, CC BY-SA 4.0, via Wikimedia Commons
Britain’s wetland reserves in winter are not quiet. They are full of small, specific noises: the zip of a waterproof, the clink of a flask, the soft conference of teal at the far end of the lagoon. Then a grey heron lifts from the reed bed and everything goes hush. That is the moment you are there for. The gear matters, but only after you have learned how to sit still.
Start with the reserve, not the rig
Pick a reserve that suits winter birds rather than your lens collection. RSPB Minsmere, WWT Slimbridge, Leighton Moss, Rutland Water and the London Wetland Centre all offer different versions of the same bargain: warm hides, cold light and a decent chance of something worth waiting for. Check tide times, feed times and opening hours before you leave. Arrive before first light if you can. The best hour is often the one when the car park is still empty and the wardens are still putting out the signs.
Walk the site first without the camera out. Note where the light falls, which windows give a low angle, where the reeds block a clean view. A hide is not a studio. You are borrowing a seat in someone else’s living room, and the birds have not agreed to the shoot.
Let bird detection do one job, not every job
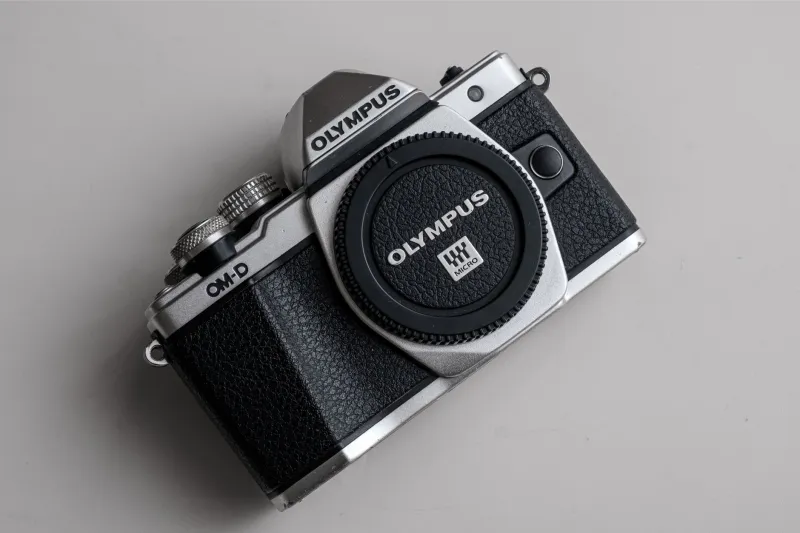
If you shoot an OM-1 or OM-1 Mark II, Bird Detection AF is the obvious starting point for wildfowl in flight and raptors against the reeds. Assign autofocus to a back button, use continuous AF, and keep burst rates sensible. Pro Capture is genuinely useful for take-offs, but it will also fill a card with almost-herons. Use it deliberately.
On an OM-5, I would leave subject detection alone and use a small single AF point. Place it on the eye or the edge of the breast, half-press, and wait. For perched birds, single AF is calmer and more predictable. For swimming ducks, continuous AF with a small cluster works well. The camera is not the clever part of this equation. Your position is.
Exposure when the sky is a grey card
Flat grey light is not bad light. It is soft light, and it suits plumage. The trap is contrast: a dark cormorant against a bright sky, or a white swan against dark water. Work in manual with auto ISO, watch the histogram, and protect the highlights. For a dark bird against a pale sky, add around +0.7 EV and bring the shadows back in raw. For a white swan, expose for the bird and let the water go dark. Do not chase a perfect LCD preview; judge the histogram and the blinkies.
Shutter speed depends on behaviour. A settled grey heron can be photographed at 1/250 sec. A wigeon lifting off wants 1/1000 sec or faster. If you want the impression of a flock rather than a freeze, drop to 1/60 sec and pan with the lens. Image stabilisation helps, but it will not rescue a bad pan. Use the lens hood, keep the lens balanced on a beanbag, and breathe out before you press the shutter.
The hide is a shared room
Hide etiquette is simple and frequently ignored. Arrive quietly. Silence your phone. Do not use flash. Do not lean out of the window or open every flap to get a better view. Do not tap the glass, and do not announce the bird to the entire hide at full volume. If someone is already on the prime window, ask before you move in. A beanbag on the sill is better than a tripod leg in the aisle.
Strong scents, rustling crisp packets and repeated zooming will empty a hide faster than a marsh harrier. Bring a flask, wear muted clothing, and keep conversation low. If a warden asks you to move back from a nesting area or a roost, do it without debate. The birds were there first, and the reserve is doing you a favour.
Rain, spray and the long lens
Weather sealing is a system, not a badge. It only works when the body and lens are both rated, the ports are closed and you are not zooming in and out like a bellows. A rain cover is still sensible for a long lens. So is a microfibre cloth, a dry bag and a sachet of silica. Wipe the barrel before you pack it away, and let the kit acclimatise before you unpack in a warm car. Condensation on the front element is the quiet killer of winter sessions.
Do not change lenses in a hide. If you must swap, do it inside a bag, with the camera switched off and the body pointed down. A sensor full of reed pollen is a miserable souvenir.
A reserve-ready kit that stays light
Take an OM-1 or OM-5 body, the M.Zuiko 100-400mm or 300mm f4 if you have one, and a 40-150mm f2.8 with the 2x teleconverter as a flexible backup. Pack spare batteries, two cards, a beanbag, a rain cover, a lens cloth, a dry bag and a flask. Add thin gloves that let you feel the dials. A small notebook is more useful than a second body you will not carry.
Leave the tripod at home unless you are shooting a fixed roost at dusk. A monopod or hide clamp is often more practical. And take fewer lenses than you think. The best winter bird photographs are usually made by the person who stayed in one place long enough to understand what the light was doing.
Craft over checklist
The heron will not perform on cue. The bittern will not lift because you have a new card. Winter birding rewards the photographer who arrives early, sits still, watches the edges and resists the urge to chase every ripple. Olympus telephoto kit makes the technical side manageable. The rest is field craft: patience, position and a quiet respect for the hide.